30.8.14

Nut-hugging Bear Cookies


Long ago I remember that I saw a post from 9gag about really cute bear hugging nut cookies and I want to try resembling what they did cause they are so freaking cute. 
Things you need is super simple and handy, you may find them all in your kitchen. The key things are the bear cookie mould and something eatable for the bear to hug.

All purpose flour: 180g 
Baking Powder:    1/4 tsp
Salt:                       Just a pinch 
Butter:                   90g
Sugar:                   100g
Egg:                       1
Vanilla Extract:     1/2 tsp


1. Mix the butter with sugar, blend with a blender until they are completely incorporated. 
2. Mix in the egg and vanilla extract 
3. Shift in the flour, baking powder and salt, mix them well
4. Put the dough into the freezer for about half an hour so it is going to be easier to work with when moulding.
5. Dust the working place with flour and the cookie dough. Use a rolling stick and roll out the cookie dough evenly. 
6. Use the cookie cutter to cut out the shapes. 
7. Put a nut in the heart of the bear, lift the bear's hands onto the nut like it is hugging it. 
8. Use a toothpick and poke three holes to create the bear's face.
9. Pop them into the preheated oven and bake at 200ºC for 10-15 minutes or until it is golden brown on the edge. 

29.8.14

DIY Moleskine Cover


I always have to have a sketchbook hanging around me so I can drop down all the things that just came into my mind. It is kind of like a diary to me and it is quite personal to me. Therefore for my every new sketchbook I will try to customise it with my current favourite style. Each book cover really represents my current stage. I used to have a sketchbook with loads of spikes because I was in love with Marilyn Manson, I called it my "dark period".

This year I am really into the floral prints (and red colour as always). One day I went across a store with this really amazing floral print parchment-ish paper and I knew it right away that it will be my next sketchbook cover. I love the the arrangement of the pattern and I love the choice of colour that really matches my black cover. 

The making of it is super simple. However, please do keep in mind that if the kind of wrapping sheet that you use is too thin you have to add a layer of white colour underneath it or else the pattern will blend in a bit with the book cover and the pattern will not be as stand-out (unless this is what you are looking for).

1. Decide the portion of coverage and mark it with a pen.
2. Use a masking tape or any gentle tape (so you won't damage the book cover when you take it off)  to stick it right outside of the line you just mark.
3. (Optional) Apply a layer of white acrylic with a sponge or anything, just make sure the layer is smooth.
4. Apply a layer of glue, again make sure the layer is smooth
5. Let it dry out a little bit so when the covering sheet is stick to it it won't shrink as much due to moisture.
6. Turn the cover over, apply glue again and fold in the covering paper. Fold in bit by bit for round edges, it may form a thick edge but it will give extra protect to the corners.
7. (Optional) If you want a extra glow onto the book cover you can add a layer of glue on top.


25.8.14

Poker suit rings


Got these cutest poker suit rings online. I am being greedy and try to put them all on on my fingers matching with different types of cuff rings. I guess my favorite will always be the heart.


21.8.14

[Bottle DIY Projects #1] Plastic bottle vase + simple floral arrangement


I am a huge fan of bottle and I have collected way too much bottles before I realise it. Due to the humungous resources I think I can make a series of bottle DIY projects. And this will be my very first. Stay tuned!

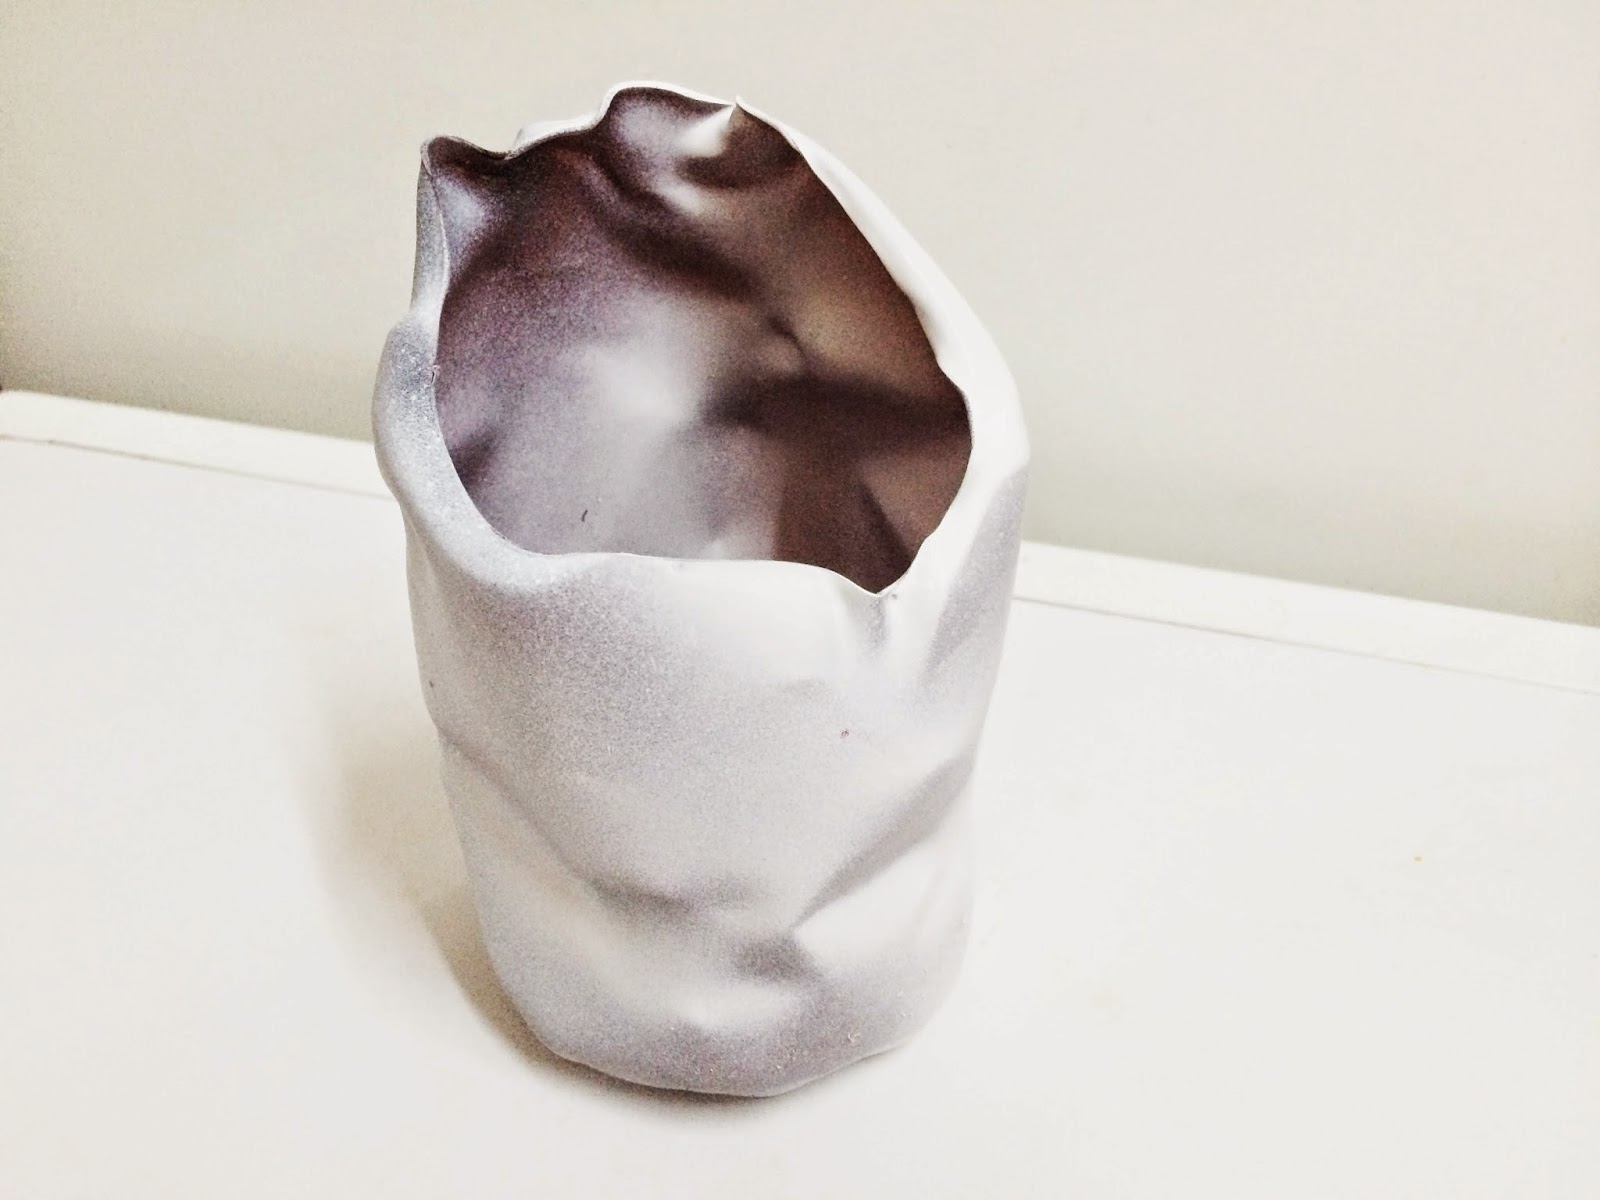
I always use this brand of shampoo and their bottle design is very classic so I want to make something more irregular out of it. I made a slanted cut-out and hovered the bottle over a lighted candle. The surface of the bottle will deformed and become something like this:

Lastly I spray the whole thing into white colour and it looks quite awesome to me. :)


I have decided to add flowers in it. to make the whole bouquet looks nicer I added a floral foam in it and insert each flower piece individually. Took be quite a while.
 
Do not neglect the leftovers! Put them in a shot glass and they will look very cute.